
Implement E-Commerce Add to Cart Feature in PowerApps
In this blog, you will learn to implement Advance Level feature like you see in E-Commerce website – Add to Cart using Gallery, Collection, in-Built Functions and some out of the box thinking!
Prerequisite - Setup these to follow along
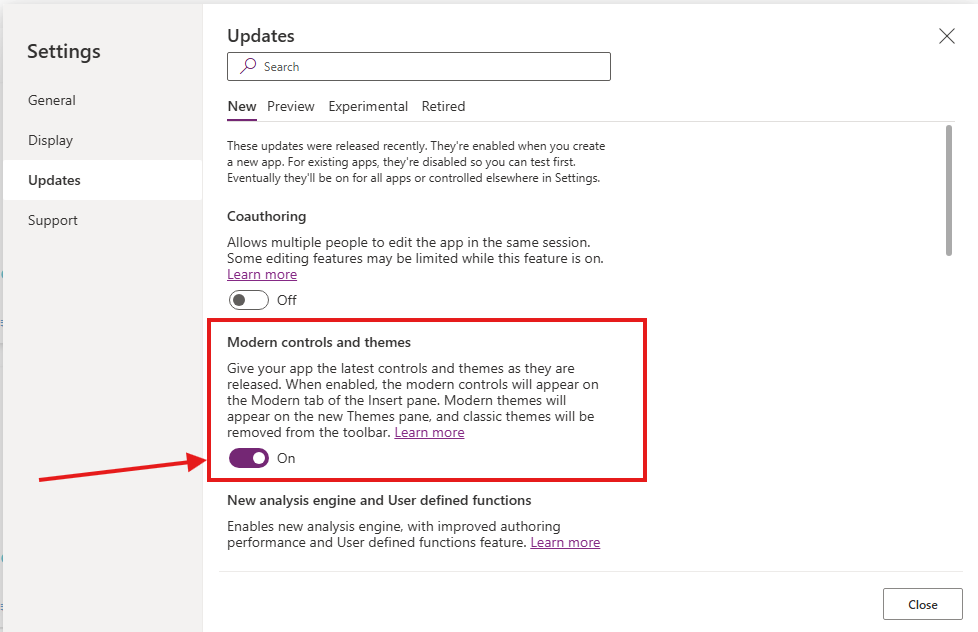
Step 1: You have to enable Modern Control & Theme from PowerApps Setting menu
Step 2: Download the below Excel – It contain Sample Product data
Step 3: Import Excel Data to SharePoint List
SharePoint Home -> Site Content -> +New -> List -> Import From Excel -> Browse the Excel -> Select tbl_Product Table
Note: Make name as your Title column before you Import
Step 4: Create a Image Type Column – Name it “prd_Img”
Download the below zip resource file it contains all the images required for this project.
Up Arrow Code: OnSelect Property
Now you have to manually import all the images to their respective item in prd_Img column in SharePoint List
Step 5: Go to Canvas App -> Add a Vertical Gallery -> Set Wrap Count Property to 3 -> Change Template Size Property to 350 -> Add a Vertical Container in the Gallery -> Inside Vertical Container add Modern Card Control -> Configure all the columns as shown in below video
Additional Code
Collection Code: Screen -> OnVisible Property
Add Button Code: Button -> OnSelect
Horizontal Container Code: Visible Property
Format Price Code: Label -> Text Property
Down Arrow Code: OnSelect Property
Shopping Cart: Circle Label -> Text Property
Up Arrow Code: OnSelect Property