
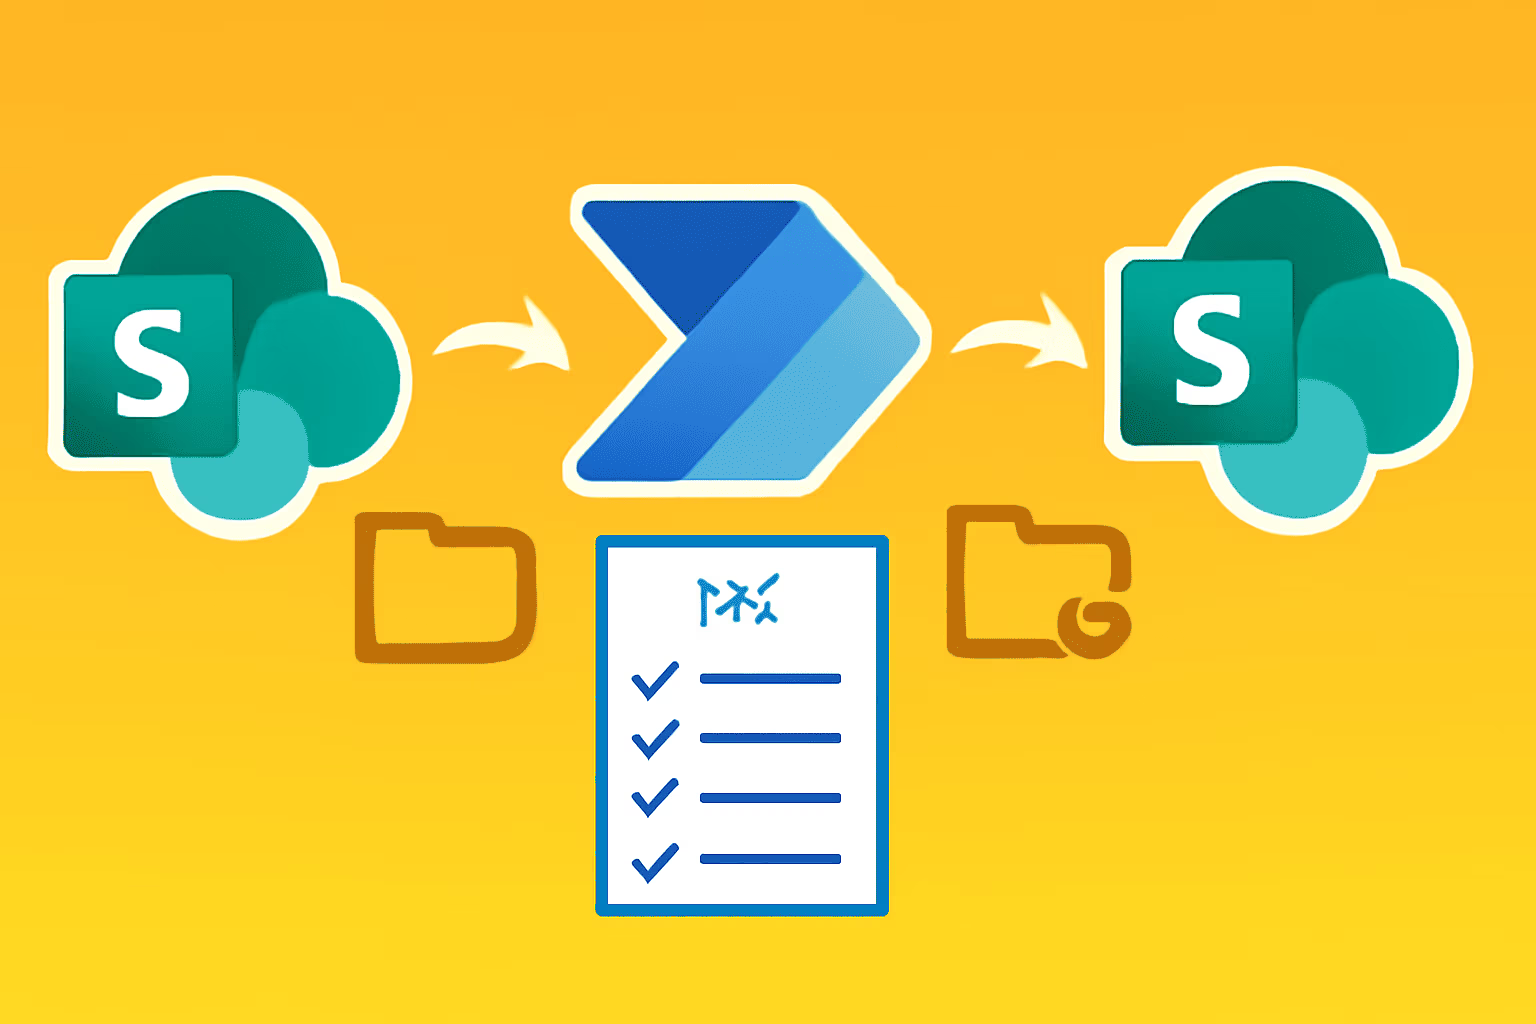
Seamless Migration of Image and Attachment Columns in SharePoint Using Power Automate
Migrating data between SharePoint lists can be challenging, especially when dealing with complex data types like images and attachments. In this blog post, we will break down a step-by-step approach to seamlessly migrate Attachment and Image-type columns from one SharePoint list to another using Power Automate, based on the latest strategies.
Why Is Migrating Image and Attachment Data Tough?
Migrating data between SharePoint lists can be challenging, especially when dealing with complex data types like images and attachments. In this blog post, we will break down a step-by-step approach to seamlessly migrate Attachment and Image-type columns from one SharePoint list to another using Power Automate, based on the latest strategies.
Video Reference
Step-by-Step Guide to Migrate Attachments & Images in SharePoint
1. Prepare Your Source and Target SharePoint Lists:
Make sure both the source and destination lists have identical columns and data types, especially the image and attachment columns.
2. Create a Power Automate Flow:
Go to Power Automate and create an Instant Cloud Flow (triggered manually or by button click).
3. Retrieve Items from the Source List:
Use the Get Items action, specifying your source list.
Remember: Get Items will fetch standard columns but not actual attachment or image data—just references.
4. Fetch Attachments Separately:
For each list item, use the Get Attachments and Get Attachment Content actions.
Get Attachments provides the name and URI; Get Attachment Content fetches the actual file data.
5. Retrieve Image Column Data:
Use Send an HTTP Request to SharePoint with the correct API URI to fetch image column properties for each item.
This step is essential as Get Items will not return image columns directly.
6. Recreate Each Item in the Target List:
Use the Create Item action to add the basic fields to your destination list.
7. Add Attachments to the New Items:
With the newly created item’s ID, use Add Attachment for each attachment file retrieved.
8. Add Image-Type Data:
Use an HTTP POST request to update the image column after item creation.
Carefully format the JSON payload to map the image data obtained from the source list, using dynamic file names and content as required.
Troubleshooting & Tips
Use pagination in Get Items if your list exceeds 100 items.
Test each action with a small batch before attempting a full migration.
If you run into errors (such as missing commas in JSON or permission issues), review API documentation or error output and adjust accordingly.
Monitor run history for debugging and confirm all images/attachments appear as expected in the destination.
Conclusion
Migrating image and attachment columns from one SharePoint list to another requires a more advanced Power Automate flow than simple data migration, but it is completely achievable with the right steps. Properly handle each SharePoint action, especially around HTTP requests and dynamic values, to ensure all types of data—including images and files—migrate without loss or corruption. Happy migrating!