
1. Prepare the Solution for Export
Go to Power Apps or Power Automate in the source environment.
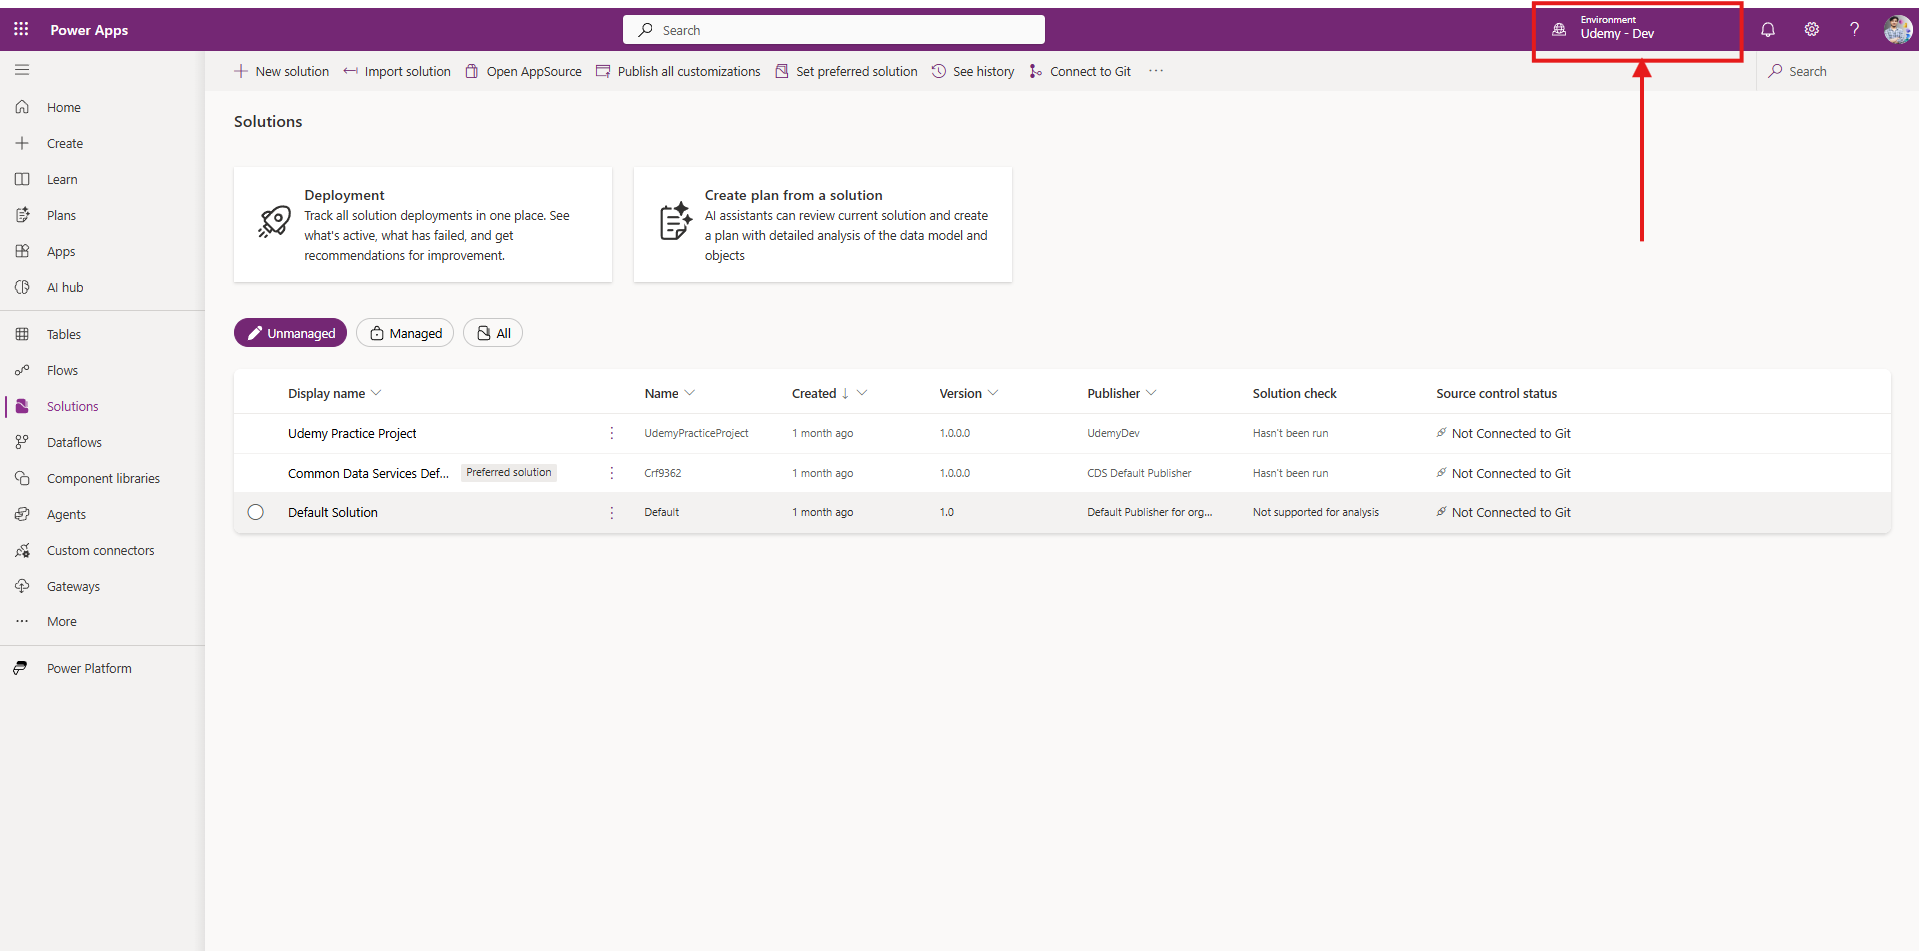
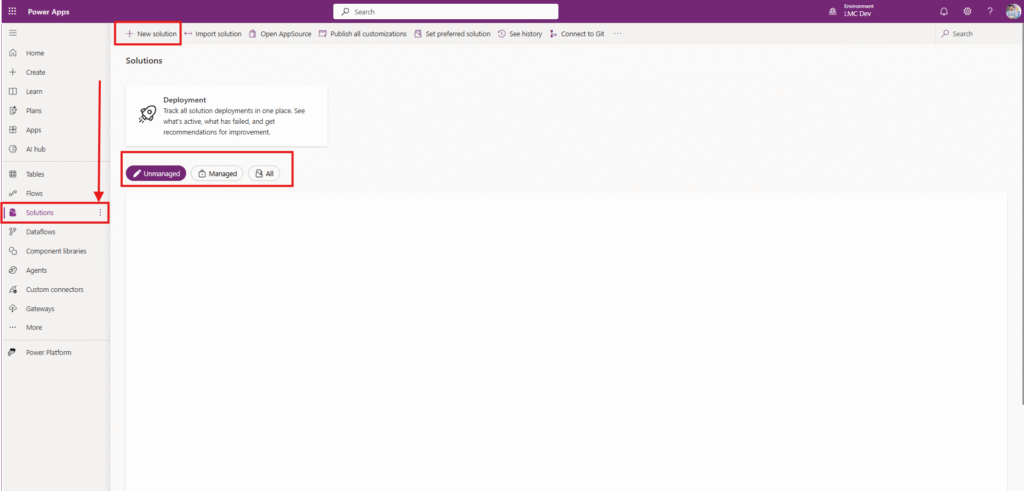
Select Solutions from the left-hand menu.
Choose the solution you want to export.
Make sure all components (apps, flows, tables, etc.) are added and saved.
Click on publish all customization button
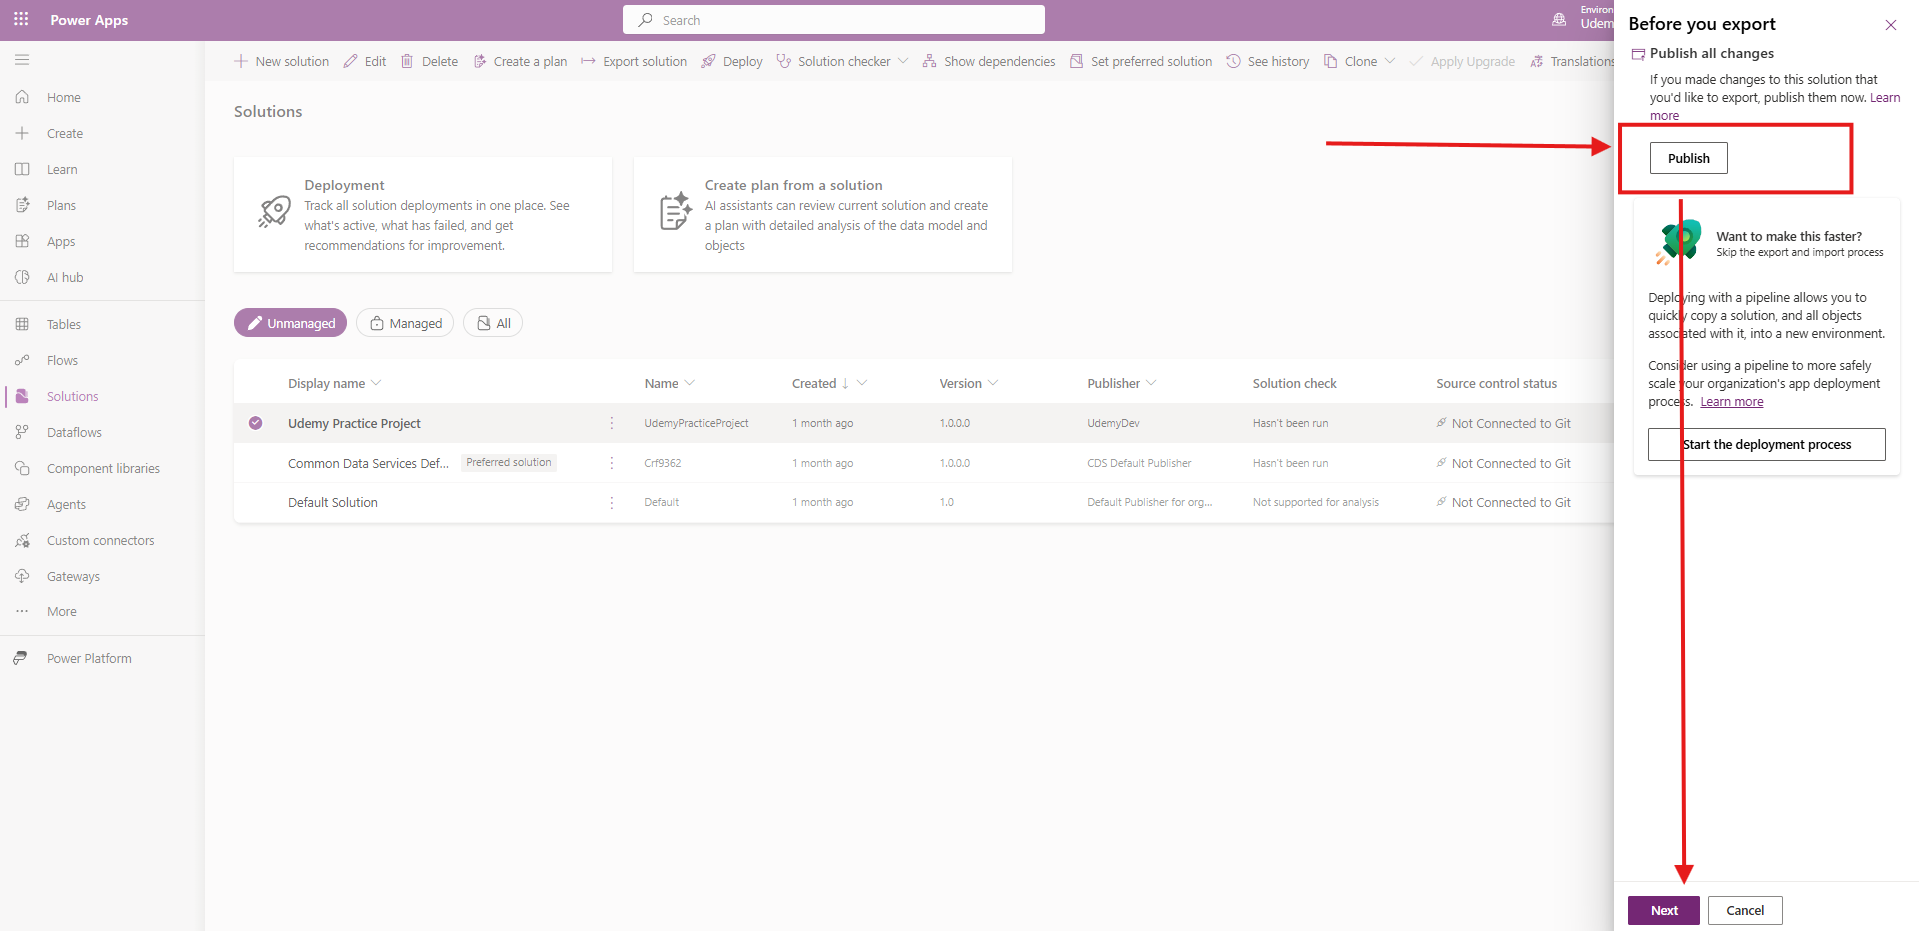
2. Export the Solution
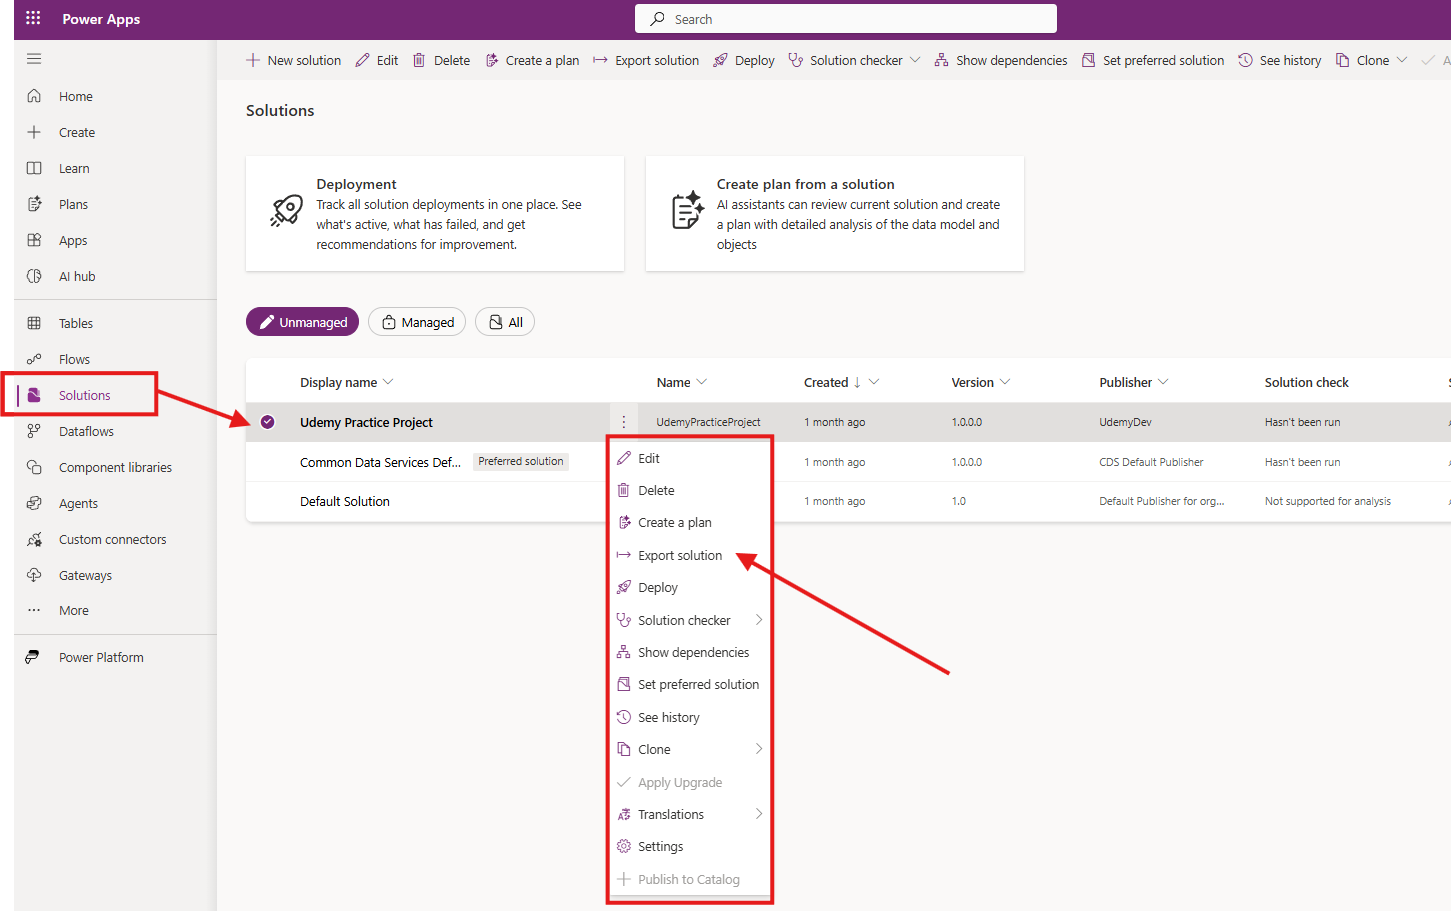
Click on the ellipsis (…) next to the solution and select Export.
Click on Publish first then click Next
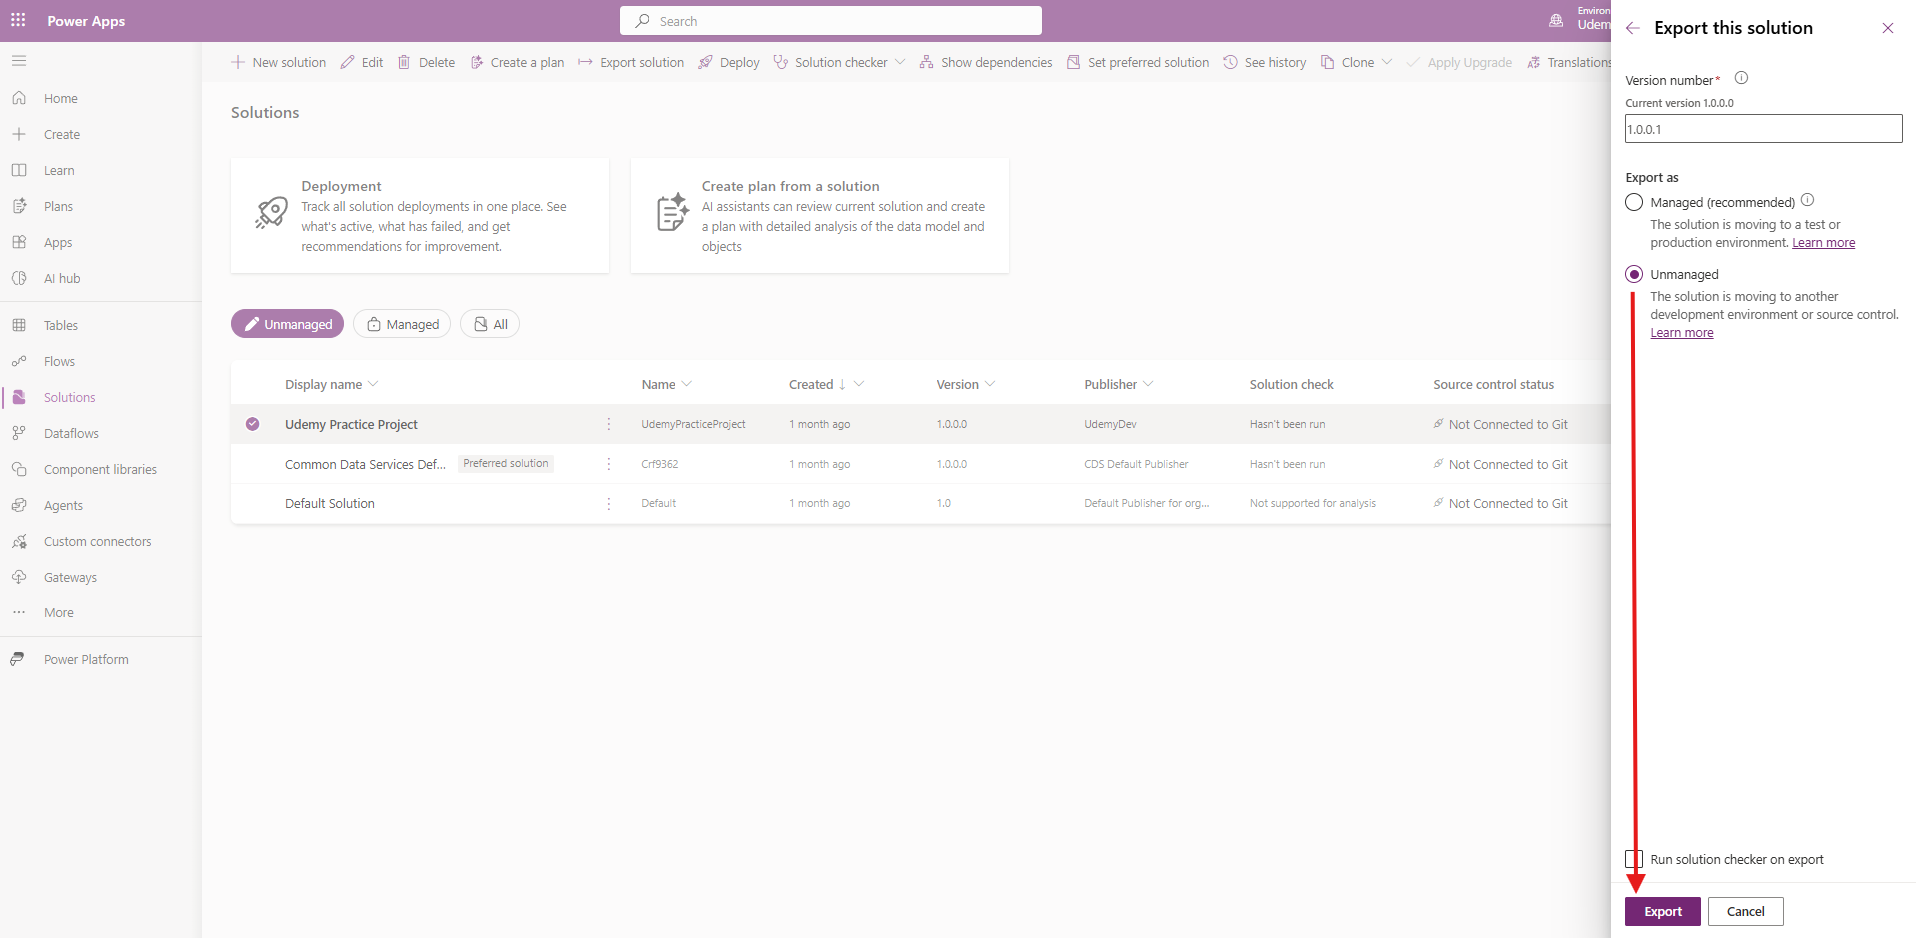
Choose the type of export:
Managed: Final version, cannot be edited in target environment.
Unmanaged: Editable after import.
Click Export.
Once the export process is completed click on Download button.
A
.zipfile will be downloaded.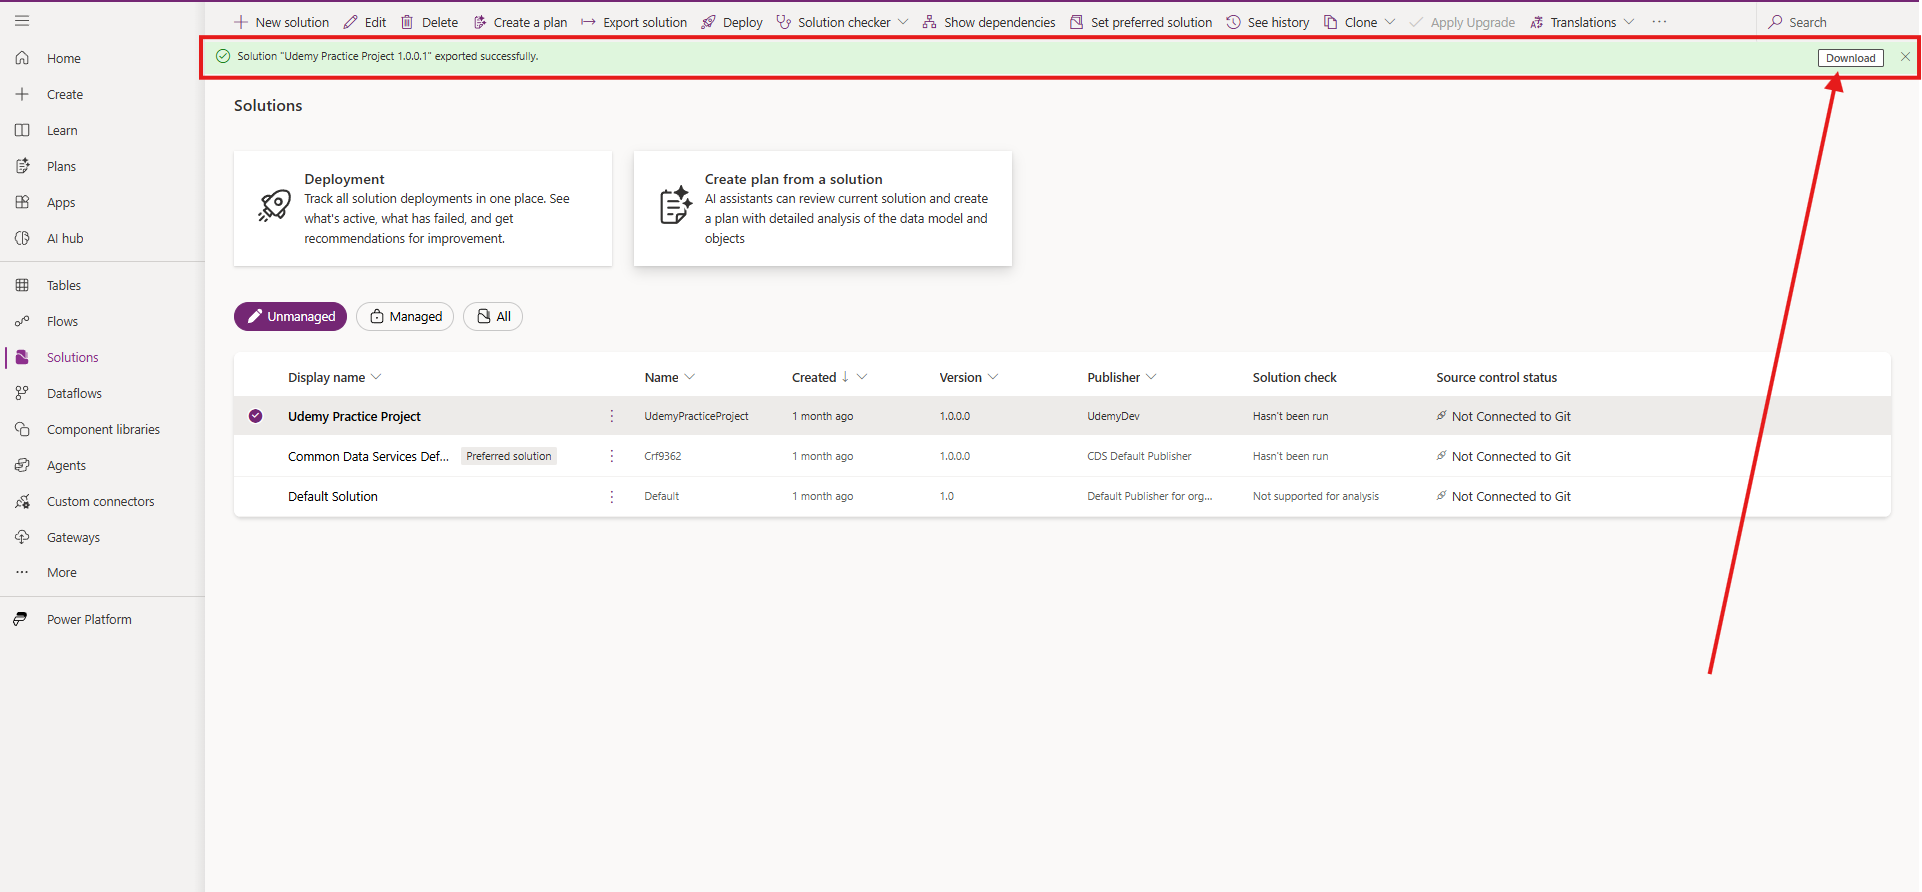
3. Go to the Target Environment
Open Power Apps in the destination environment.

Navigate to Solutions in the left panel.
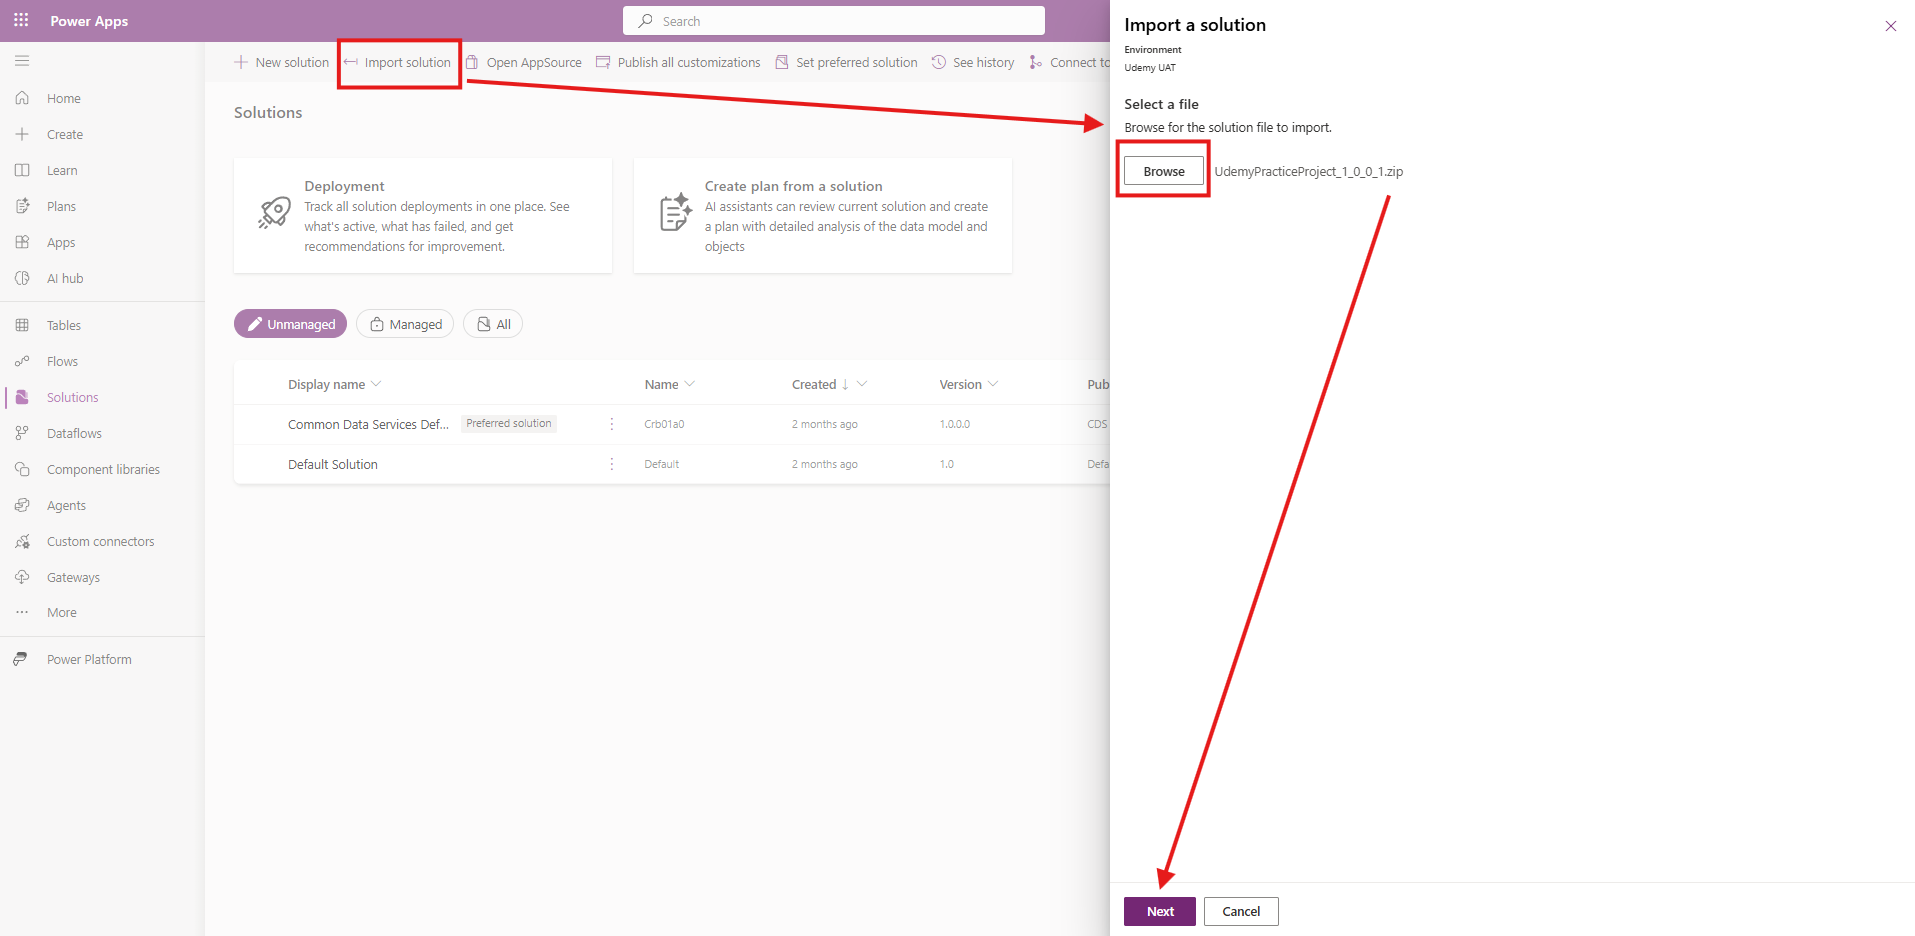
4. Import the Solution
Click on Import Solution at the top.
Upload the
.zipfile you exported earlier.Review any missing dependencies (if any) and resolve them.
Click Next, then Import.
5. Verify the Deployment
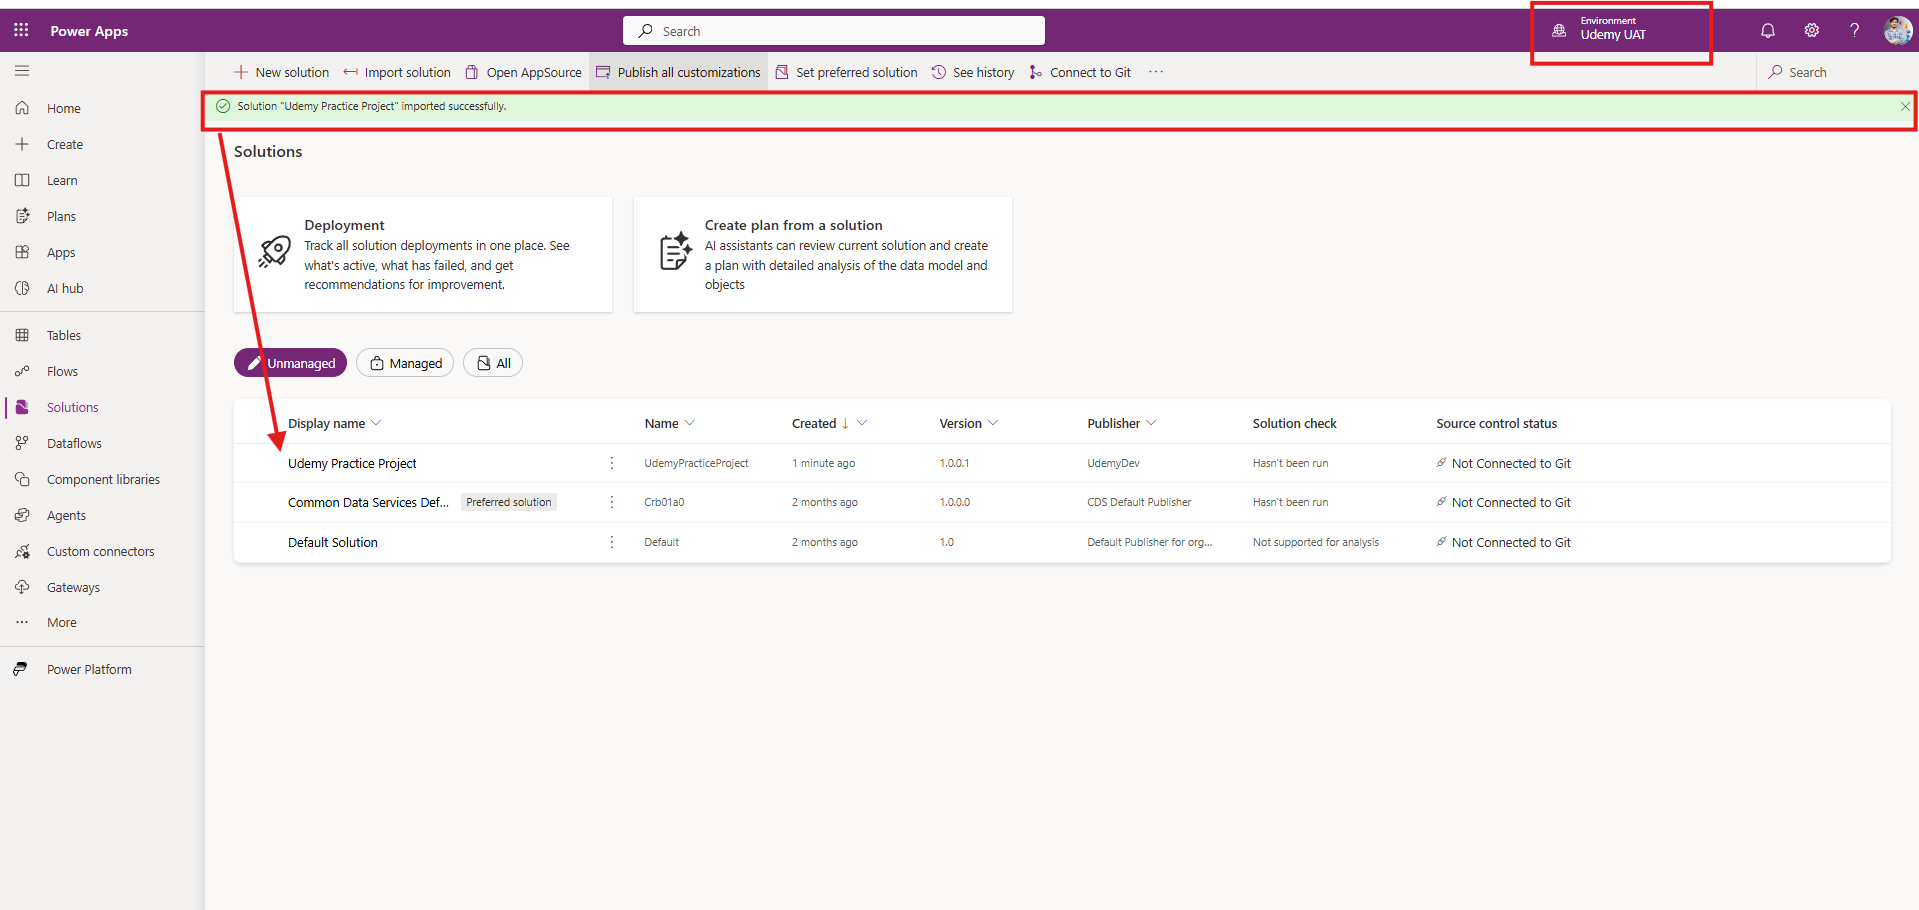
Once the import is complete, check that:
All apps, flows, tables, and other components are present.
Connections are reconfigured if needed.
The solution behaves as expected in the new environment.
1. Prepare the Solution for Export
Go to Power Apps or Power Automate in the source environment.
Select Solutions from the left-hand menu.
Choose the solution you want to export.
Make sure all components (apps, flows, tables, etc.) are added and saved.
Click on publish all customization button
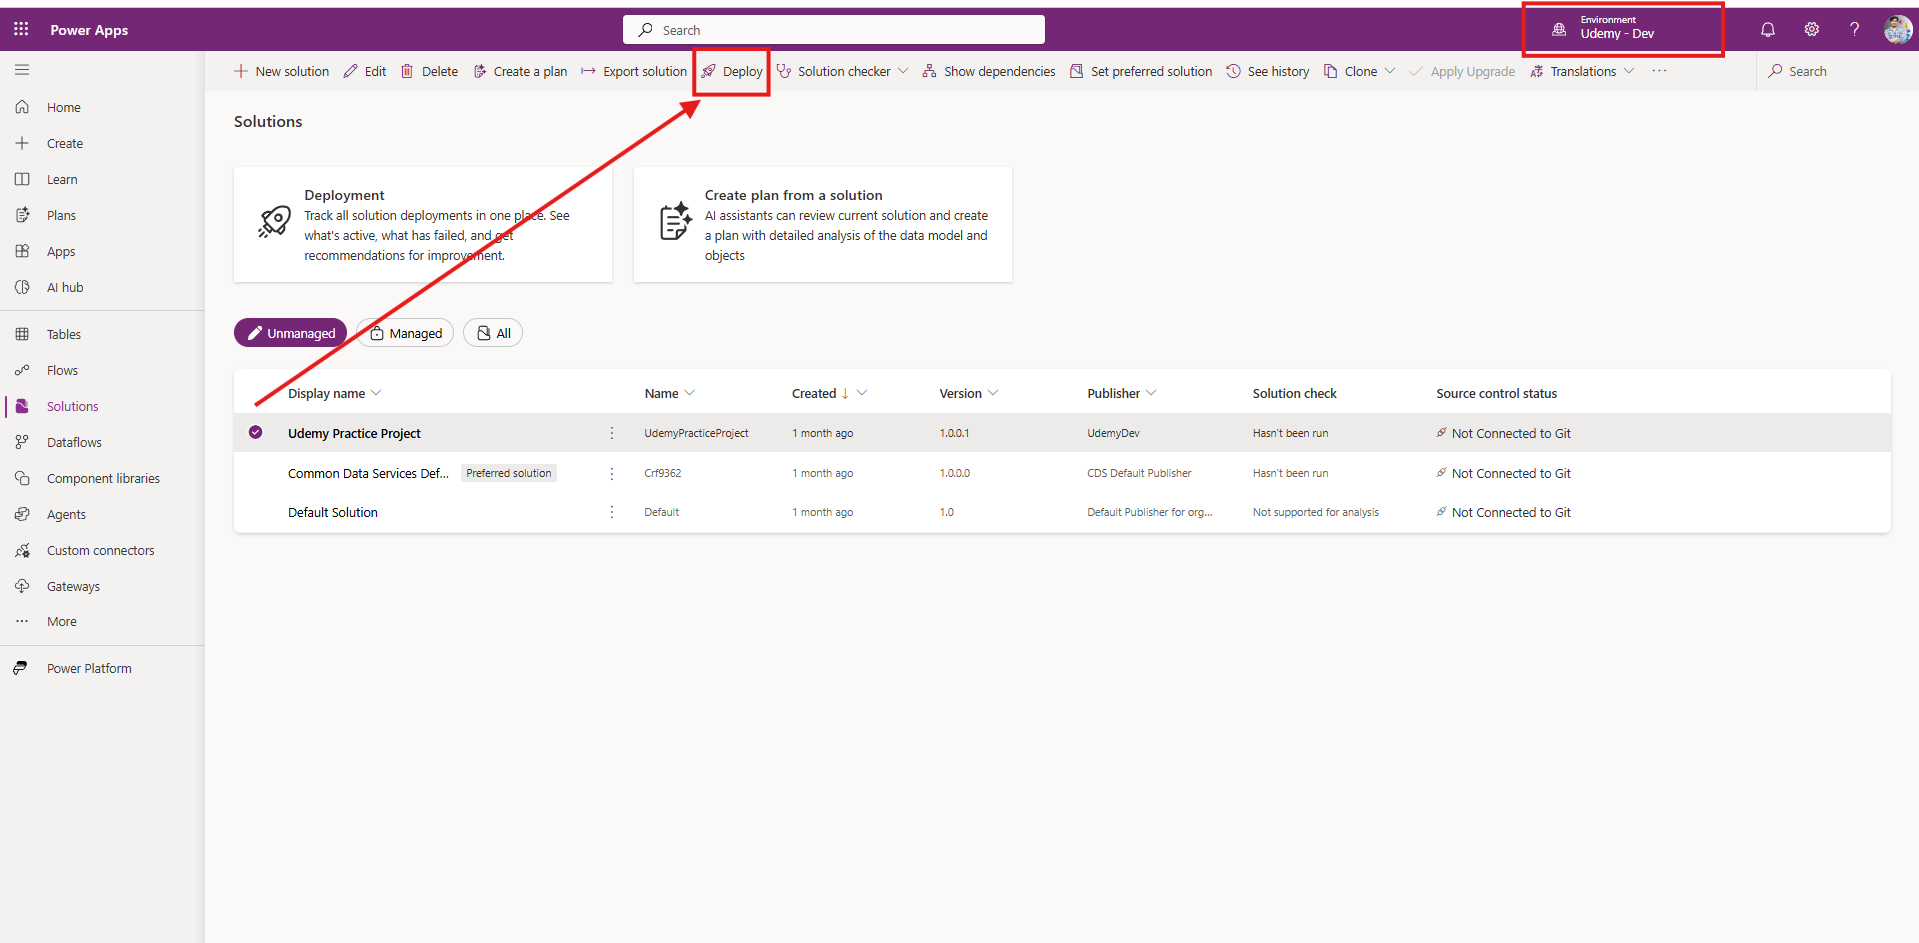
2. Deploy the Solution
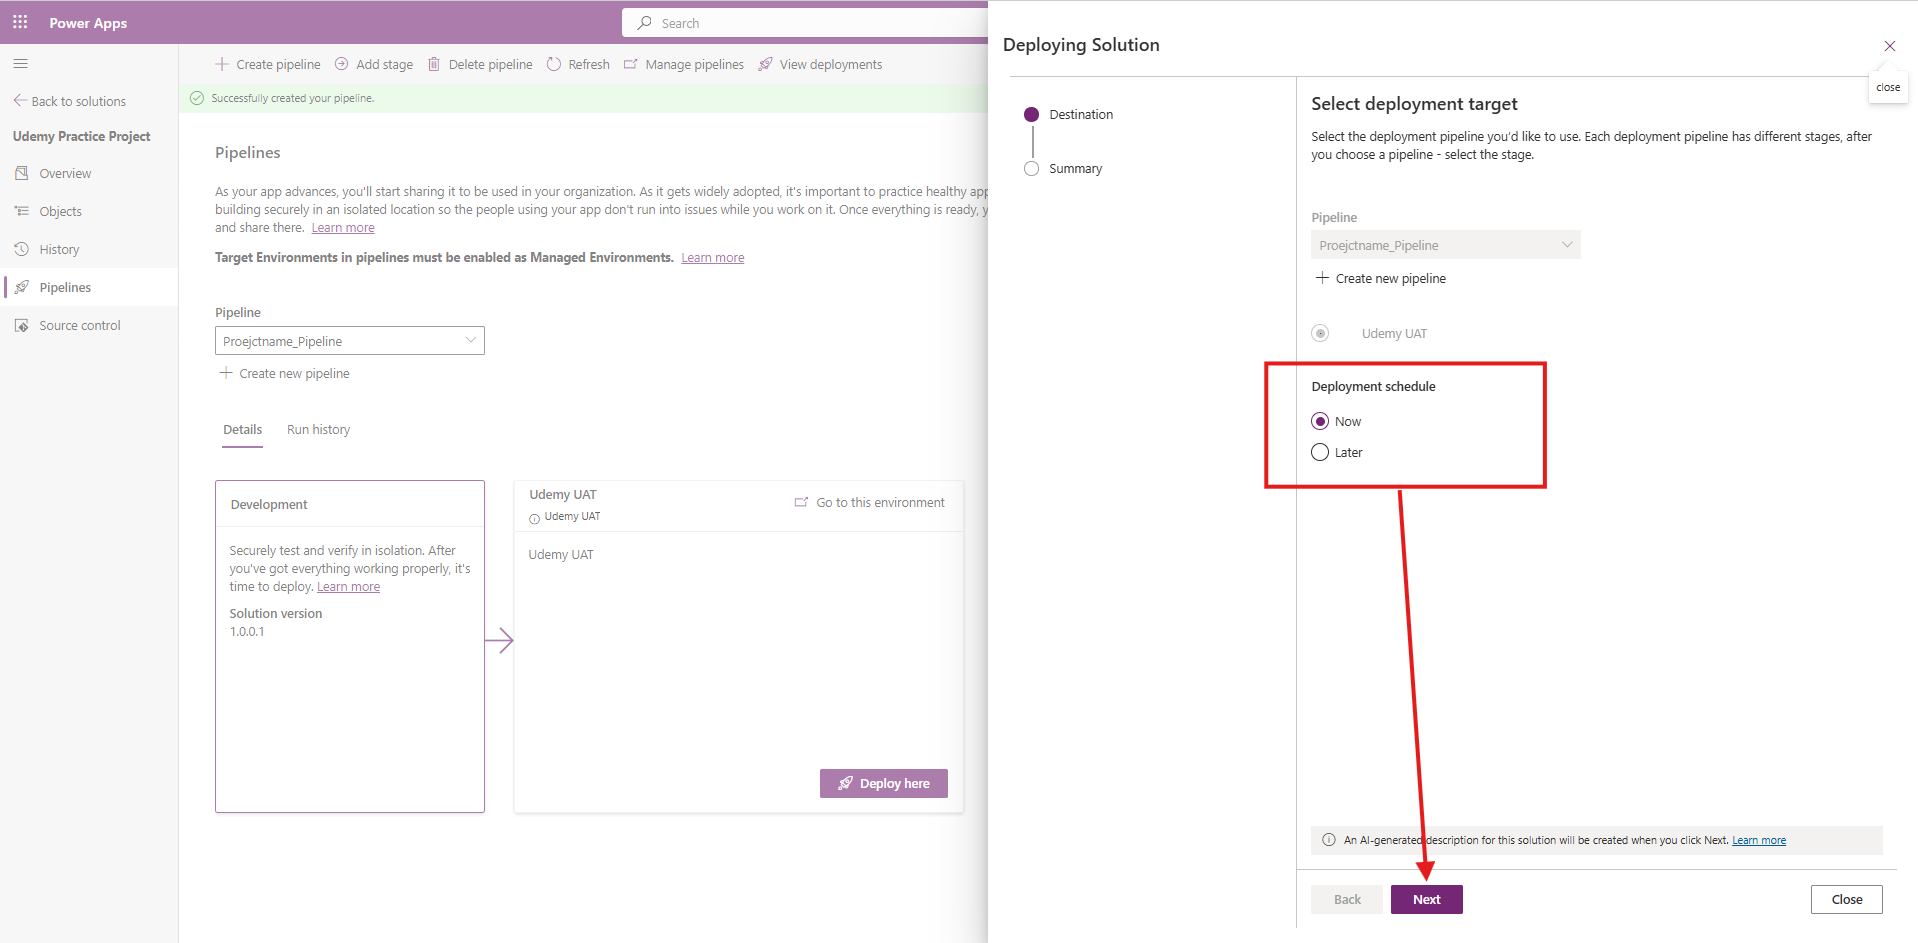
Click on the ellipsis (…) next to the solution and select Deploy.
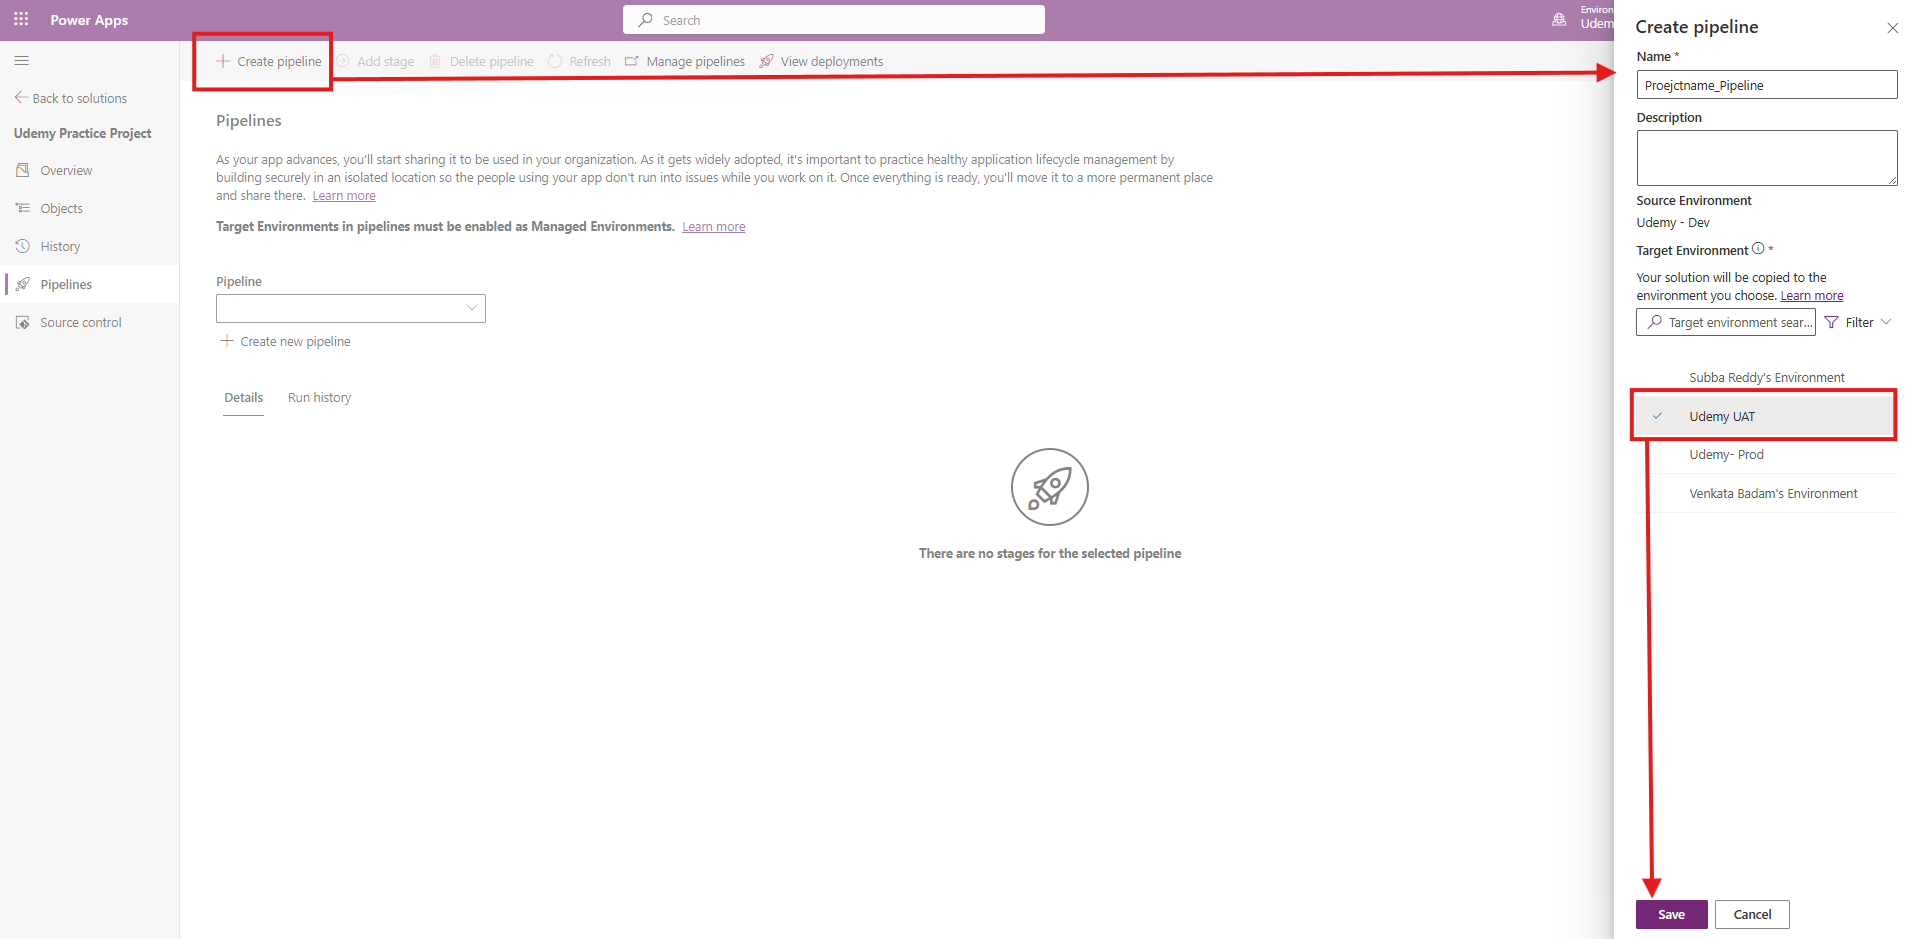
Click on Create Pipeline first then give Name and Description to Pipeline, also select the Target Environment and finally Click Next.
Once Pipeline is Created, click Deploy Here
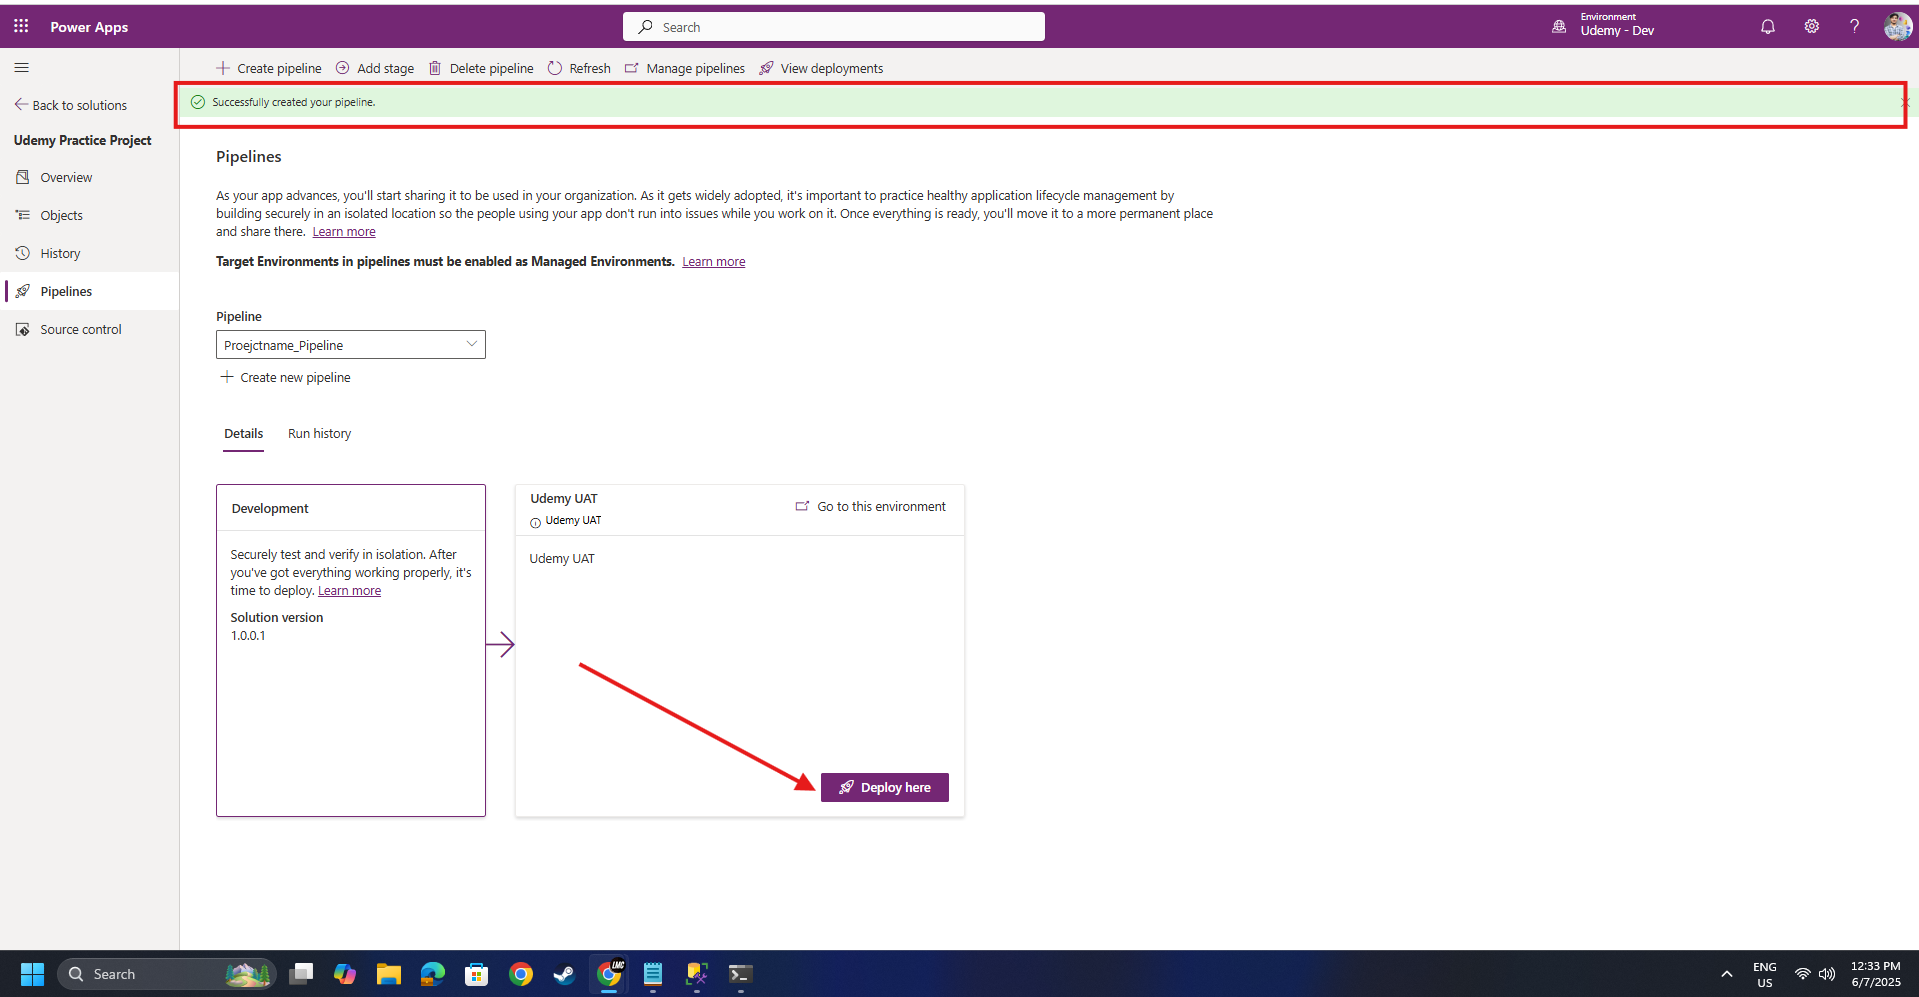
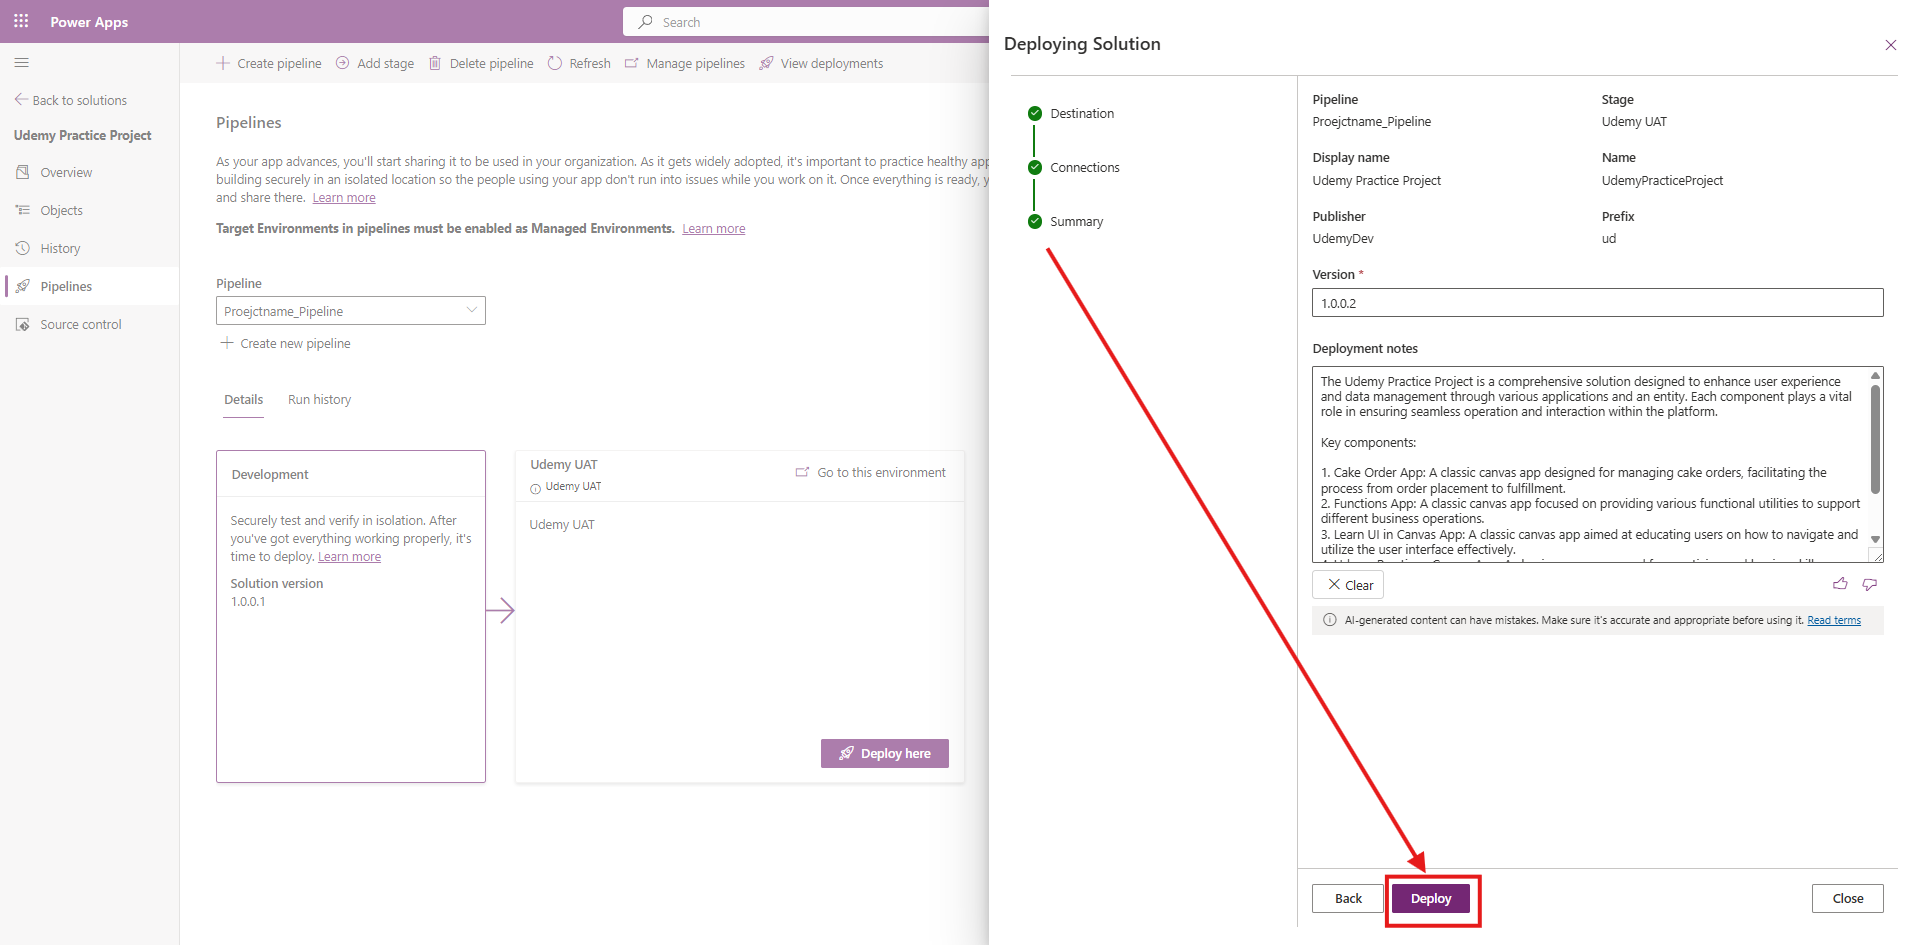
Note the solution that is going to get created in Target Environment is going to be Managed Solution
3. Verify the Deployment
Once the import is complete, check that:
All apps, flows, tables, and other components are present.
Connections are reconfigured if needed.
The solution behaves as expected in the new environment.

[…] What are Solutions in Power Platform? click here […]
[…] and Solutions for ALM and Project […]